To setup the Avery Monarch 9149 Printer for KWI labels follow these directions:
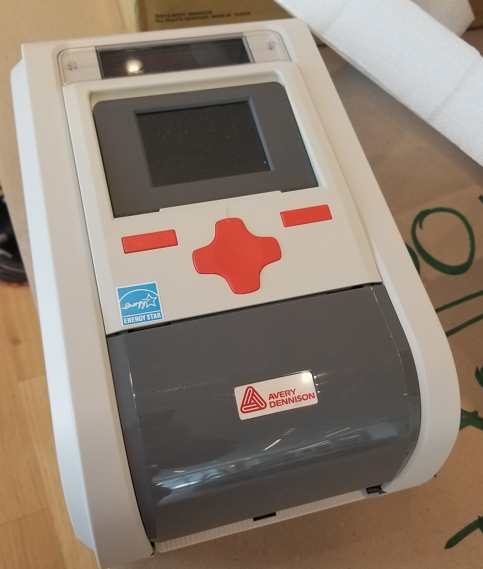
- Load the labels in face up over the black roller. Adjust the guides as needed to center the labels. Power on the printer.
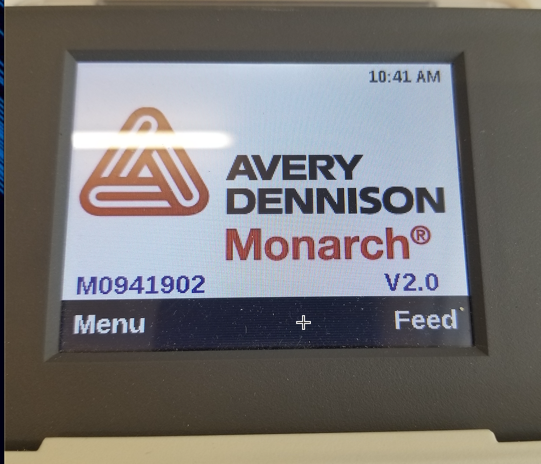
- Use the orange key on the left side to access the MENU
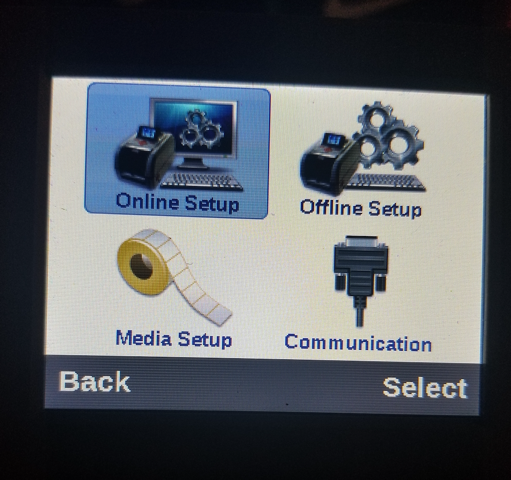
- Use the center directional orange pad to move the highlight box over MEDIA SETUP. Press the right orange button to select the choice.
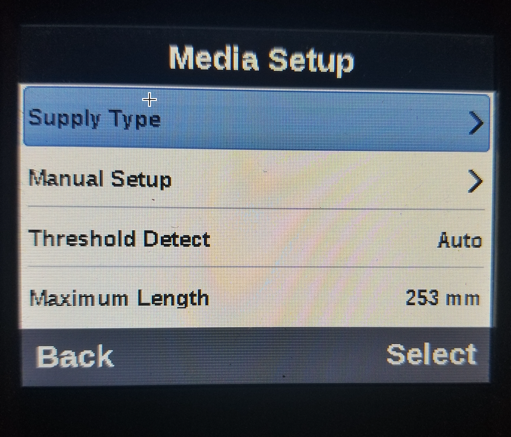
- Within MEDIA SETUP select SUPPLY TYPE using the right orange key
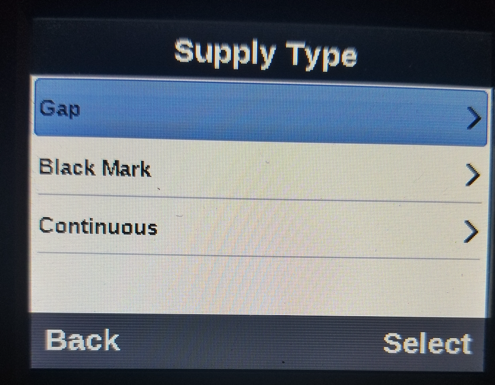
- Choose GAP as the supply type, press the right orange key to select.
- Once the supply type is selected, press back to get to the home screen. From the home screen, press the left orange button to get back into the menu list.
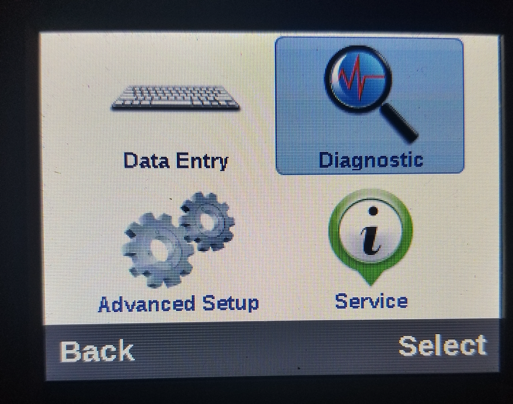
- Use the arrows to scroll down to the second page and select DIAGNOSTICS from the list using the right orange key once highlighted.
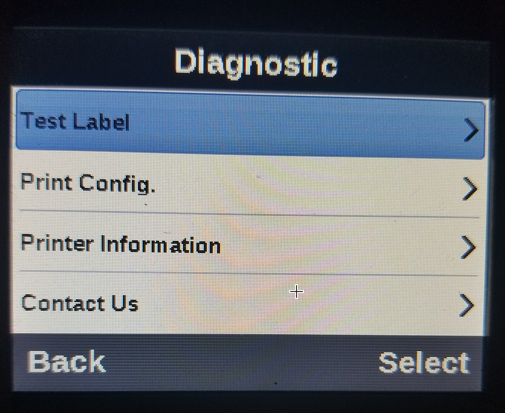
- From the DIAGNOSTIC menu, use the arrow keys to select TEST LABEL and press the right orange key to print a label. The test label should print and align with the individual labels.
To configure the printer within Windows itself, please follow the directions from KWI in this PDF: https://kb.clearviewtech.net/wp-content/uploads/2019/05/Monarch-Printer-Installation-and-Configuration-Guide-Updated.pdf