This article will describe how to setup a connection to a Microsoft Remote Desktop on a Mac running OSx.
Open the APP STORE on the Mac
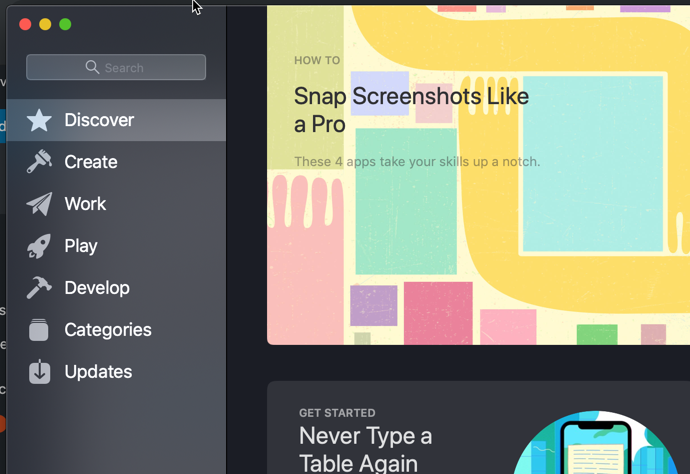
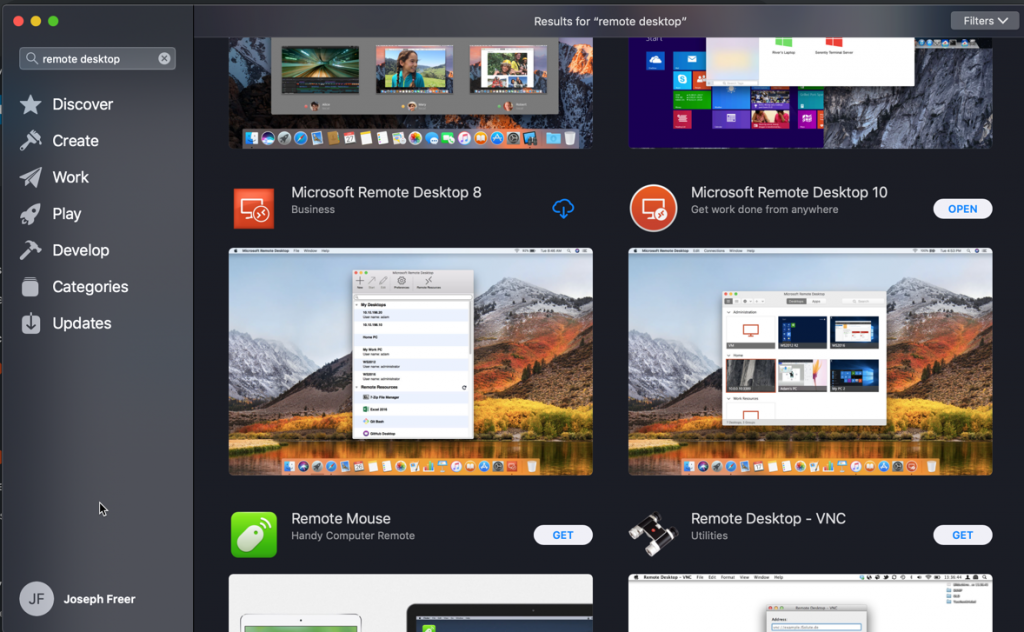
In the SEARCH box, type “Remote Desktop”.
In the results look for “Microsoft Remote Desktop 10”. If you do not have the program already installed (as we do in the example below) you will see GET (instead of open). Click GET and download the application.
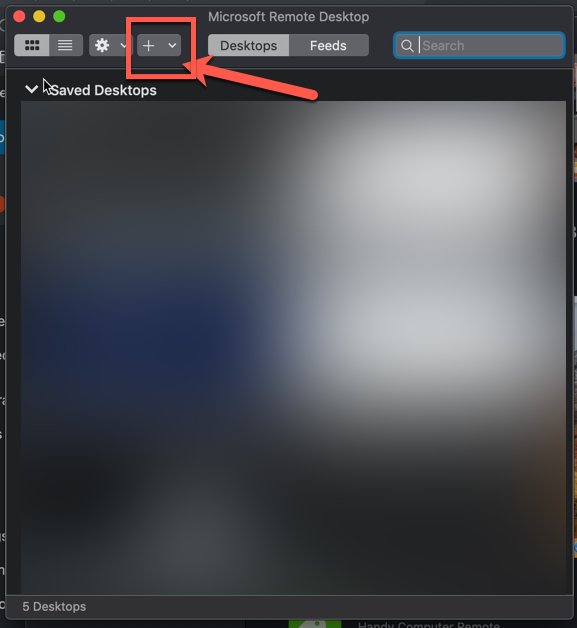
Once the application is downloaded, open if from your applications menu and click on the plus icon in the menu bar.
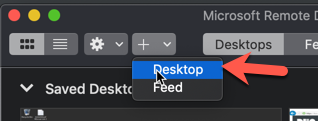
Once you click on the the plus to ADD, click on DESKTOP to a new desktop connection
A box will come up for you to complete the information needed to connect to the remote desktop
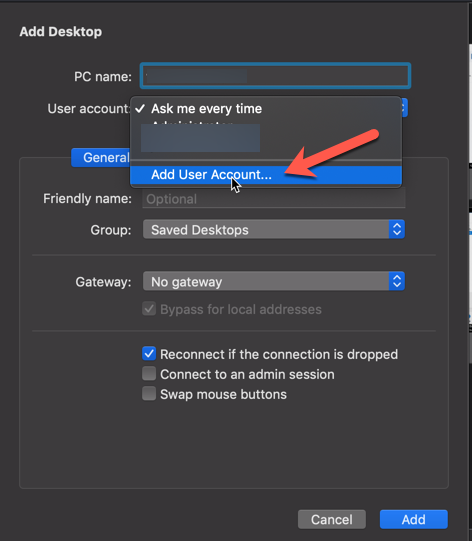
First let’s add your username. Click on USER ACCOUNT, and in the dropdown click on ADD USER ACCOUNT.
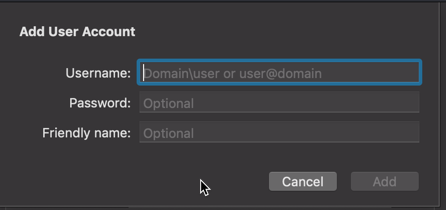
Enter your username as provided by support (domain\user) as well as your password and click ADD. You do not need to add a friendly name at this point.
Next, let’s complete the server info on the original page
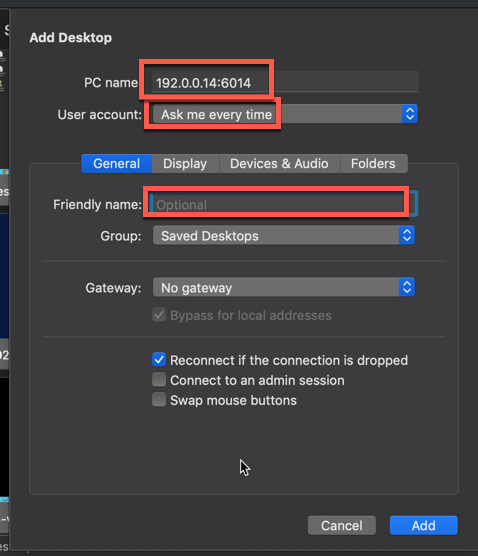
IT will provide you with the PC name (server name). Ensure the user account you added in the step above is selected. Give the connection a friendly name as provided by IT.
Click on the “Devices & Audio” tab to check the box next to Printers to redirect your printer.
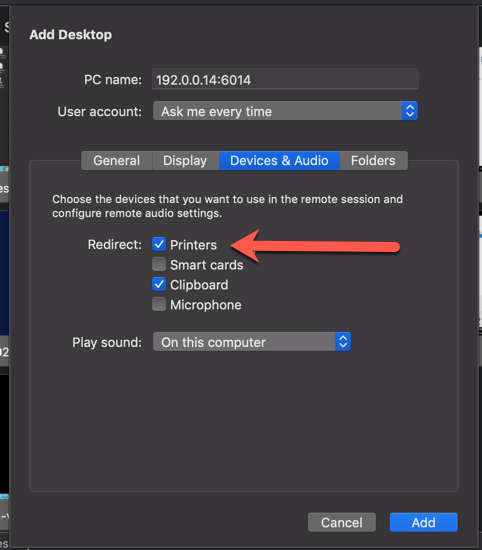
Click ADD when finished to add the connection.
Now to launch the connection you simply open the application, and double click on the connection you just created.
Please check with IT for the proper steps specific to your company’s network!
