In order to view your HikVision cameras from a Mac, you will need to install the IVMS-4200 software first. This article will walk you through the necessary steps.
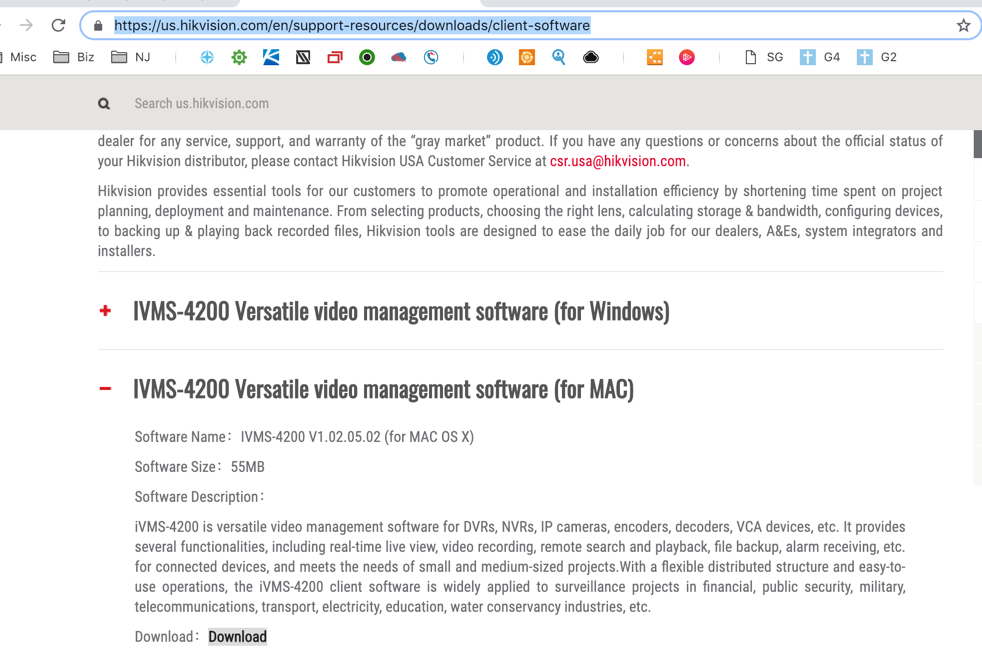
1. In your web browser, visit : https://us.hikvision.com/en/support-resources/downloads/client-software
2. Expand the FOR MAC section, and click on the download link
3. Locate the file you downloaded (typically to your Downloads folder) and run the install program.
4. The first time you launch the setup it will ask you to create a Administrator. This has no connection to your account on the Hikvision system but is unique to your computer. You can choose any username and password you wish.

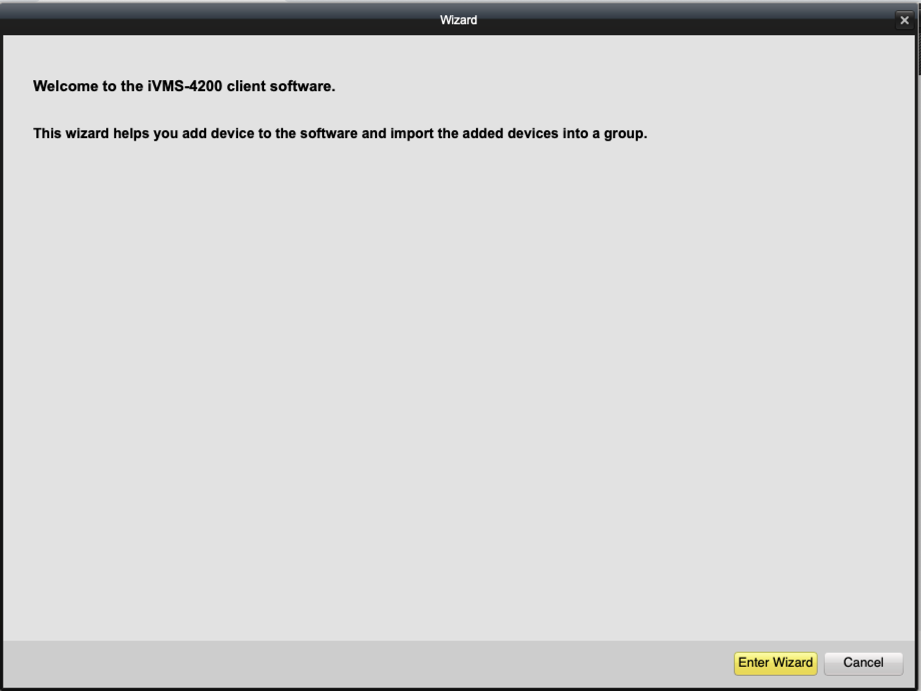
5. Walk through the wizard by clicking ENTER WIZARD and NEXT at the prompts
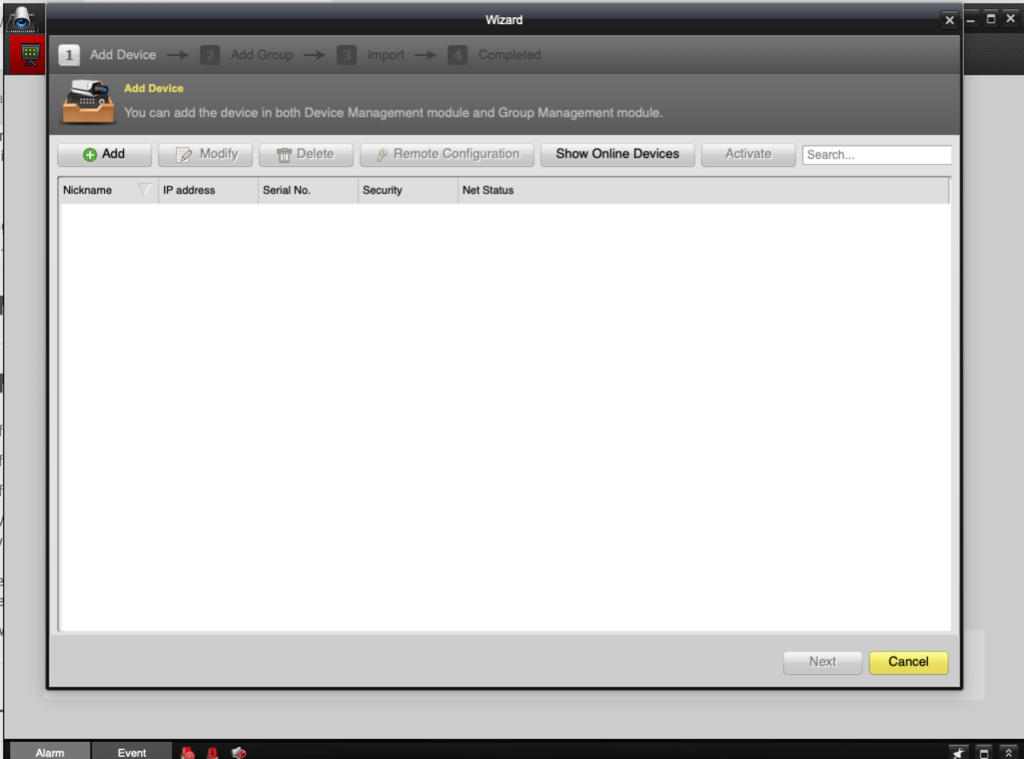
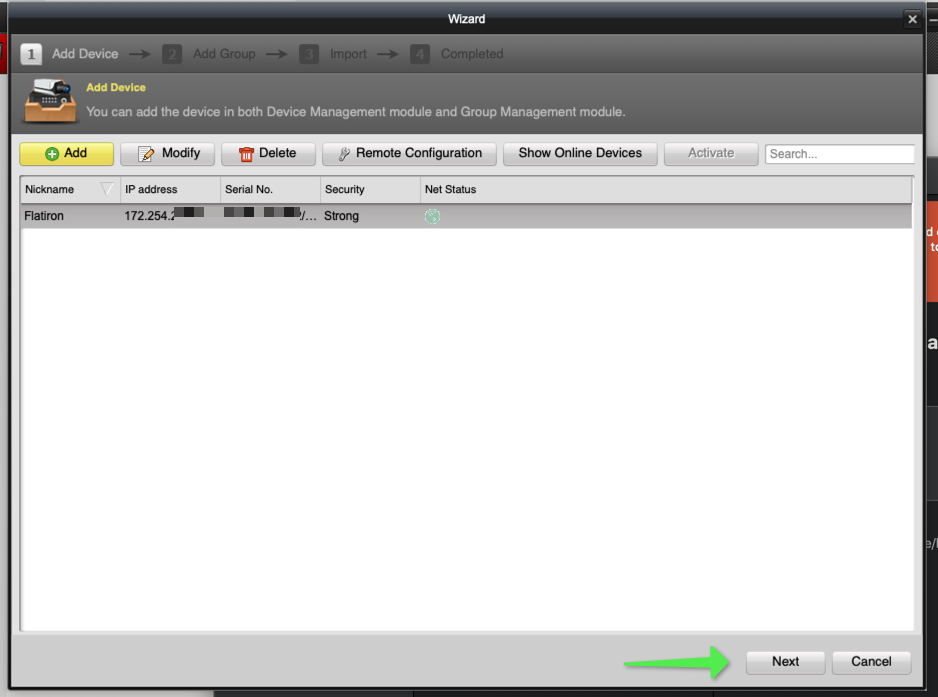
6. Click the ADD button to add your recorder device
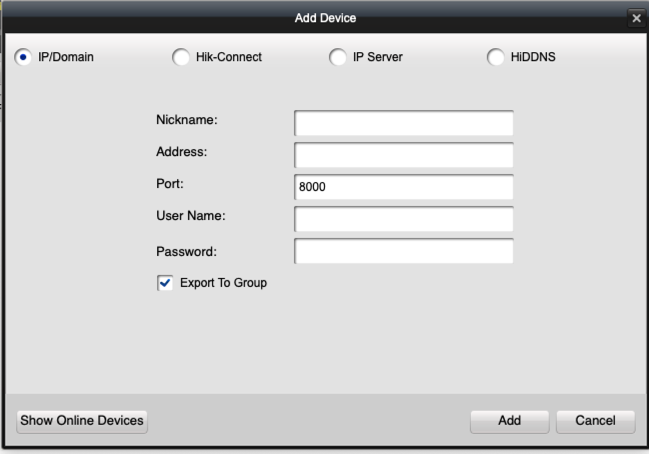
7. Choose IP/DOMAIN and enter the info provided by the support team and click ADD when finished.
8. The added device will now appear on your list. You can add additional systems if you have any more to access. Click NEXT when done.
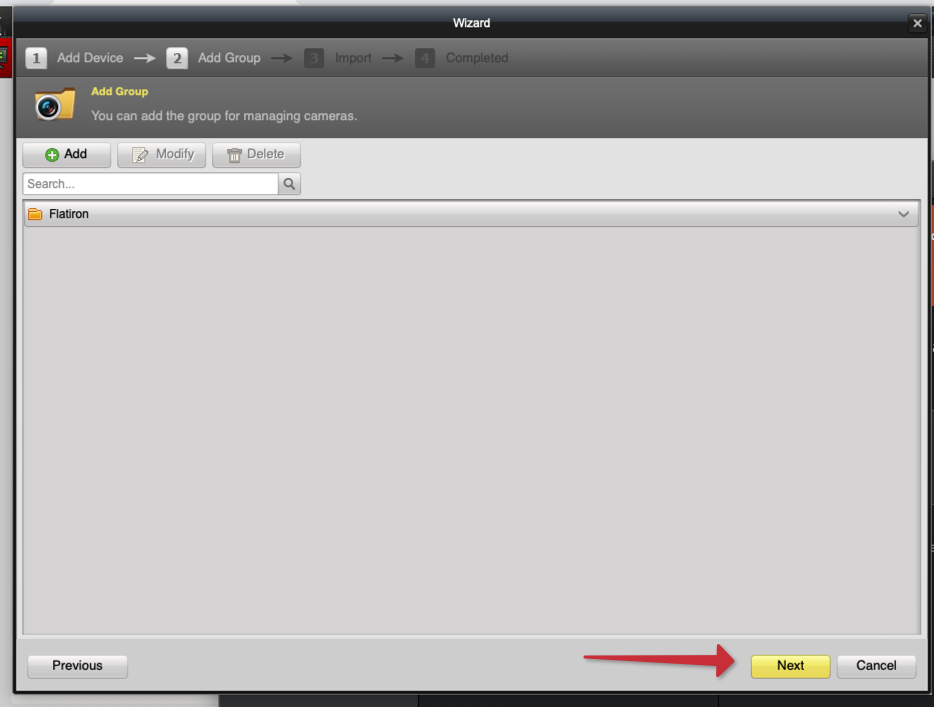
9. There is no GROUP, so click NEXT on this screen.
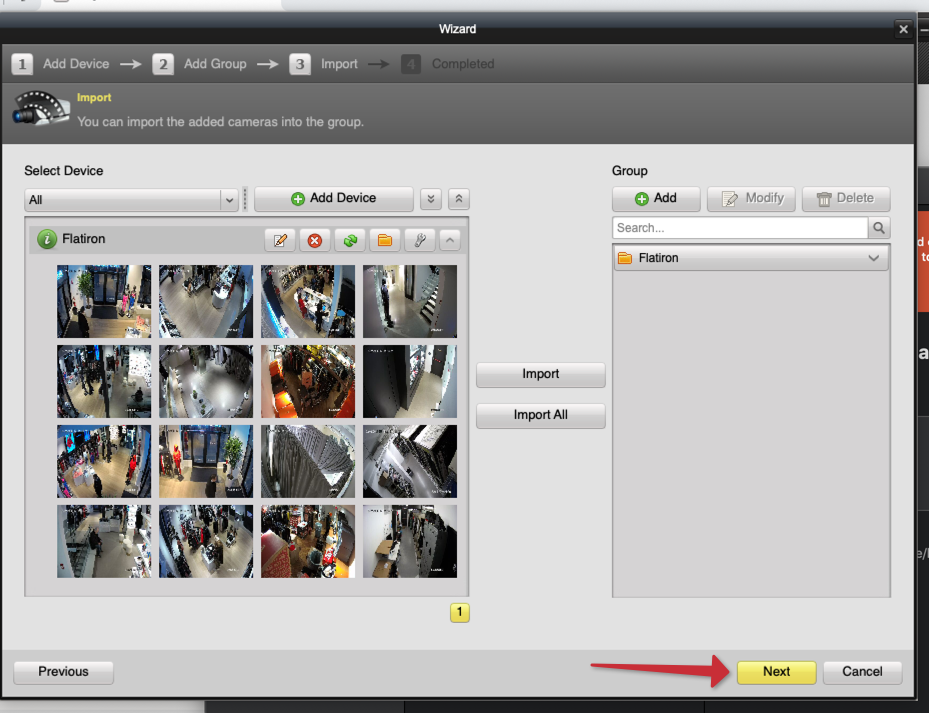
10. You can IMPORT ALL to select all cameras, then click NEXT. Alternatively you can click NEXT and select the cameras later.
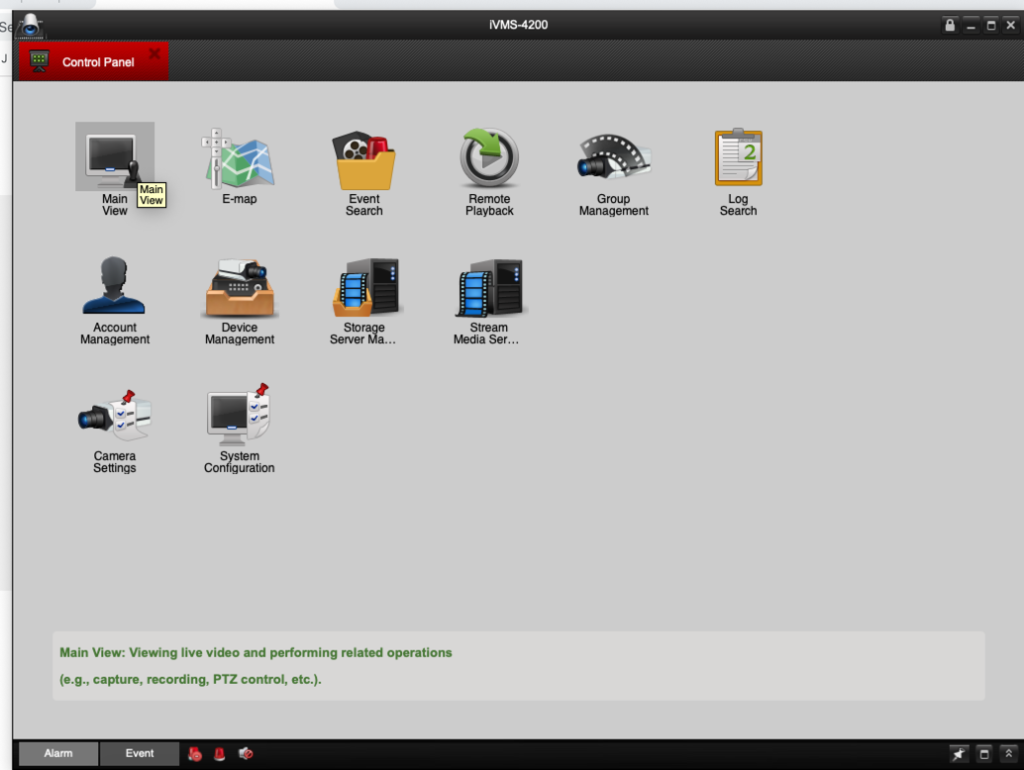
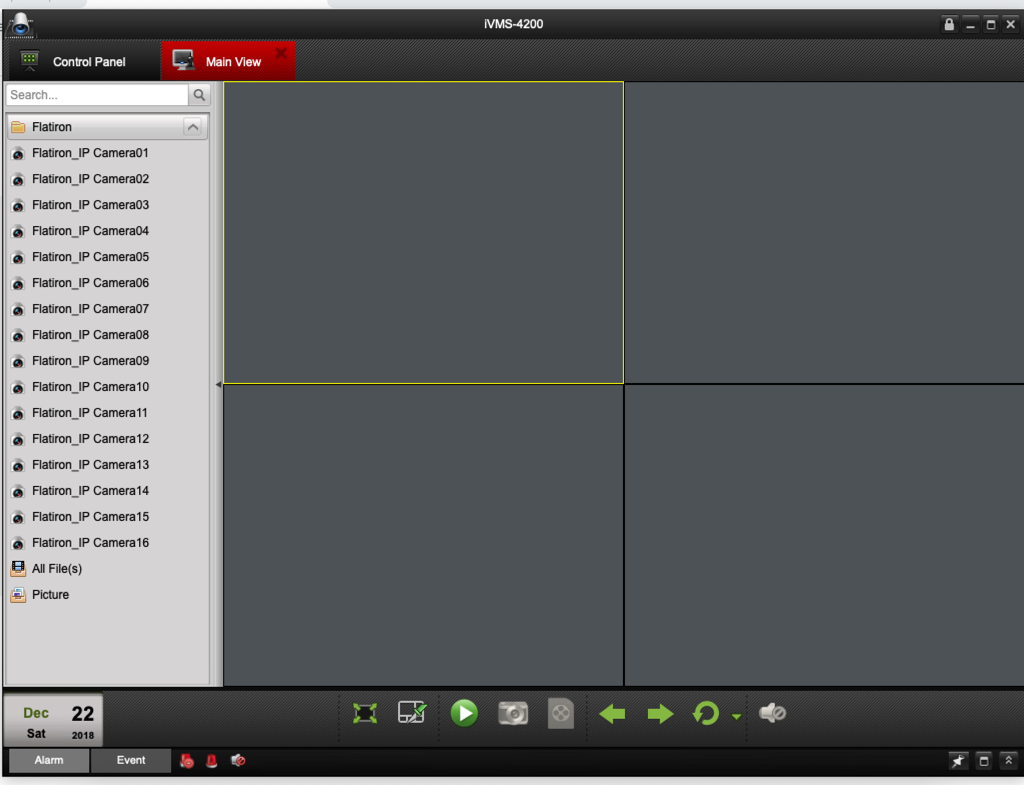
11. When the wizard finishes, you will return to the home screen. You can double click on MAIN VIEW to open the cameras.
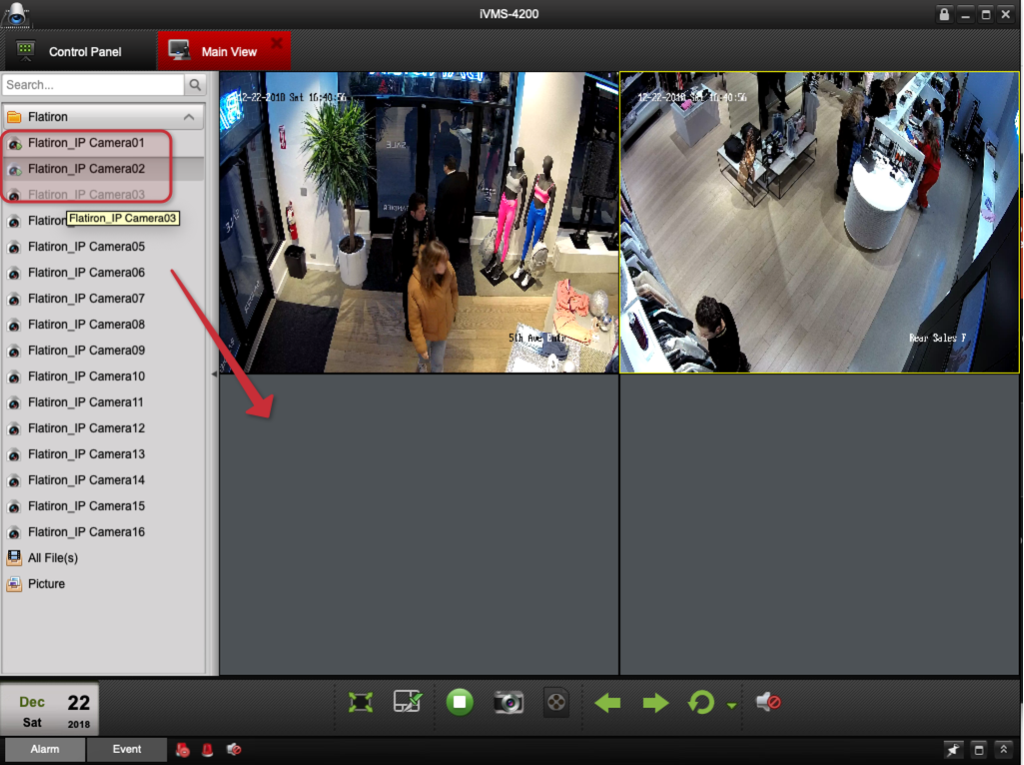
12. If you imported all cameras in step 10 they will appear, if not click on the cameras on the left list to add them to the screen on the right.
13. That is it – you now have access to view the cameras from your location on your Mac. As always if there are any issues please email or call Support to open a ticket.