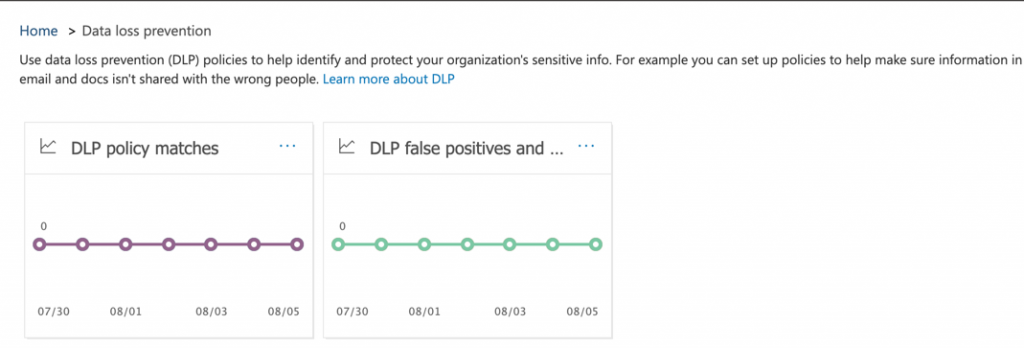
This article will describe how to setup Data Loss Prevention in your Office365 account to identify users sending potentially personally identifiable information (such as SSN, Bank Account & Credit Card Numbers etc) via plain text.
Login to the o365 administration portal: https://portal.office365.com
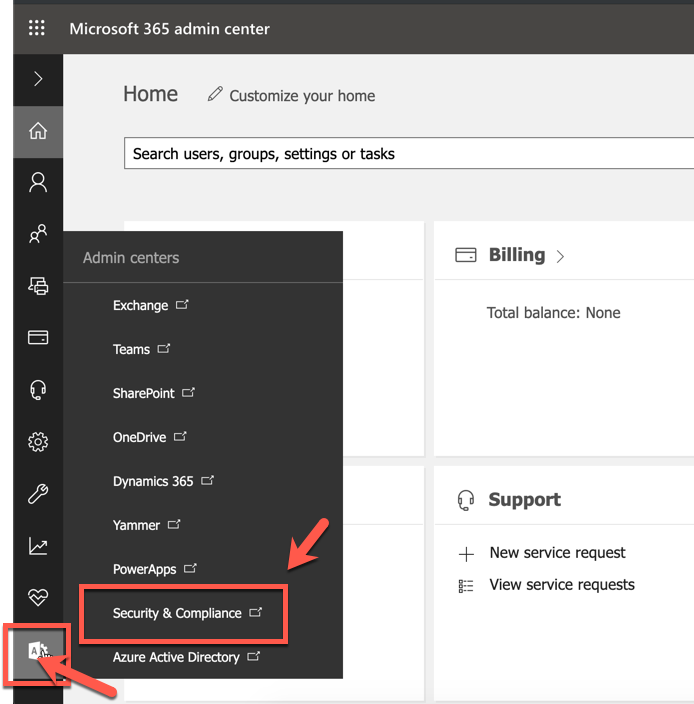
Select “Security & Compliance” from the Admin Center Menu Icon on the left
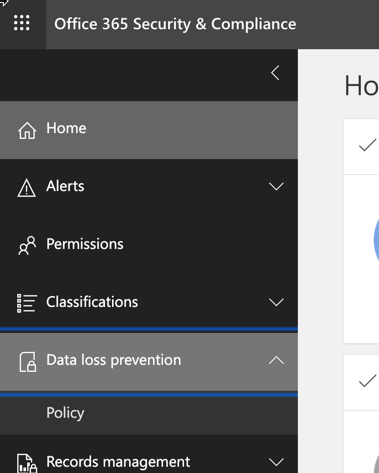
From the left-hand menu, expand “Data Loss Prevention” and click on policy
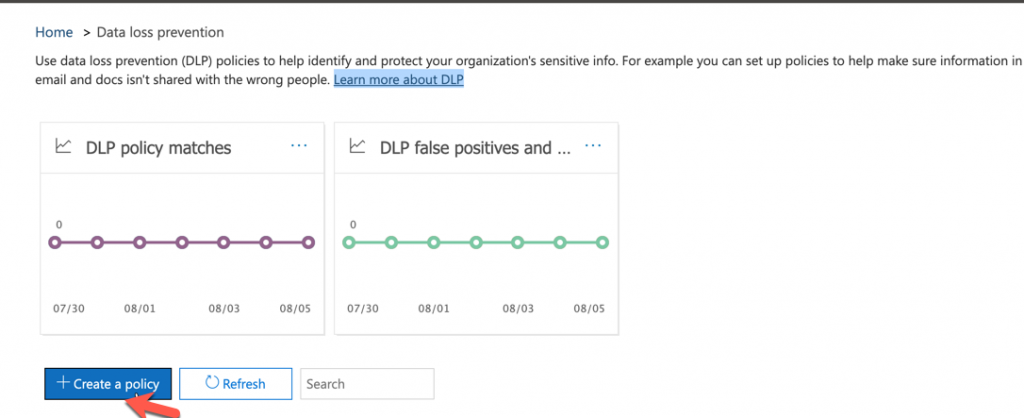
From the DLP home screen, you can click the “Create a Policy” button
Follow the steps in the wizard to create a policy for the type of information your organization wants to monitor.
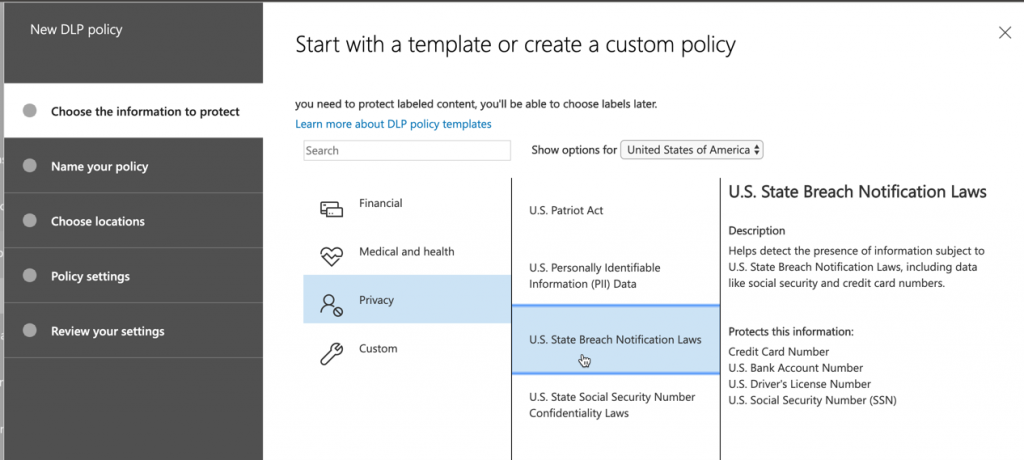
TIP > Select US from the drop down to filter (“Show options for”) for specific types of policies/information unique to the United States (such as SSN)
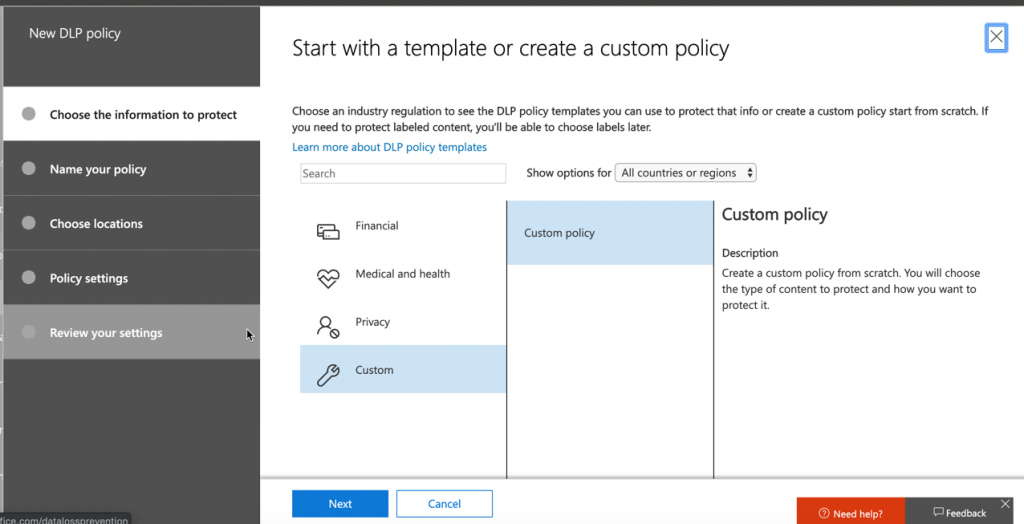
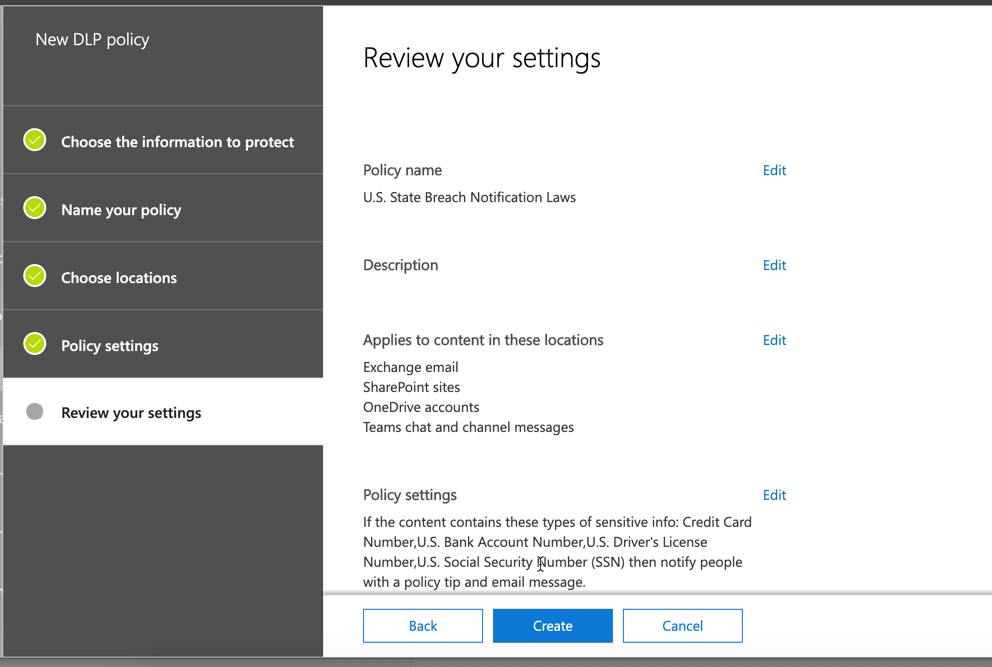
In this example, we chose US State Breach Notification Laws which gives us a range of personal data. You can choose custom, or something more specific to the types of data you want to protect.
Continue the steps to name your policy, and choose what services you want this to apply to (email, sharepoint etc)

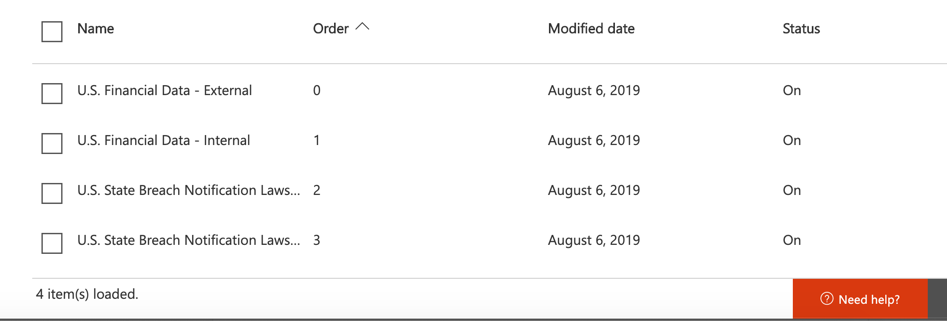
Next, choose who you would like it to apply to – inside or outside your organization. NOTE > You can only choose internal or external per policy, so if you are looking for data amongst both groups you need to create two policies.
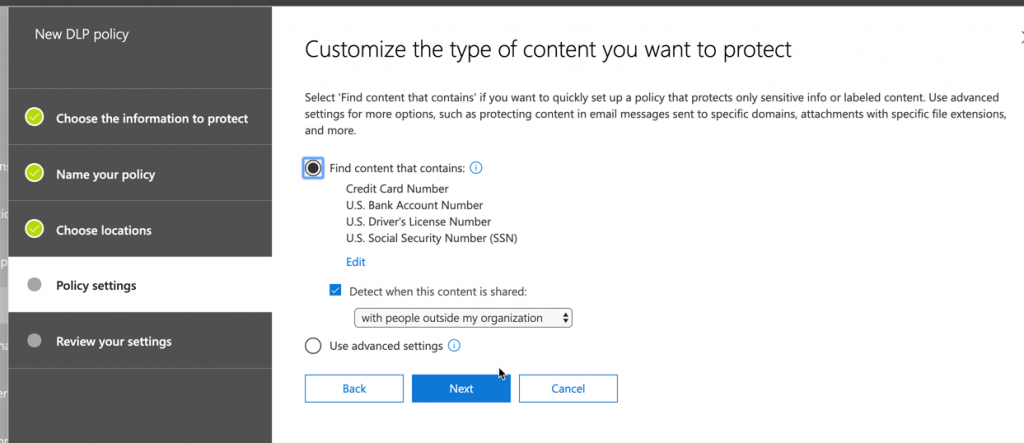
In our example below, we named the policies “Internal” and “External” to help differentiate:
Finally, configure the policy actions:
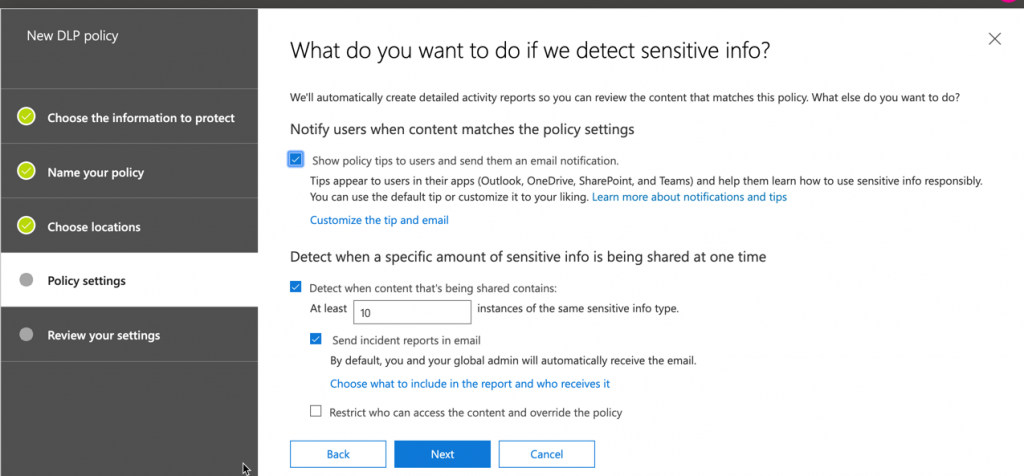
You can opt to have a tool tip pop-up for the user, as well as email admins if any information is shared or even block access to the files themselves.
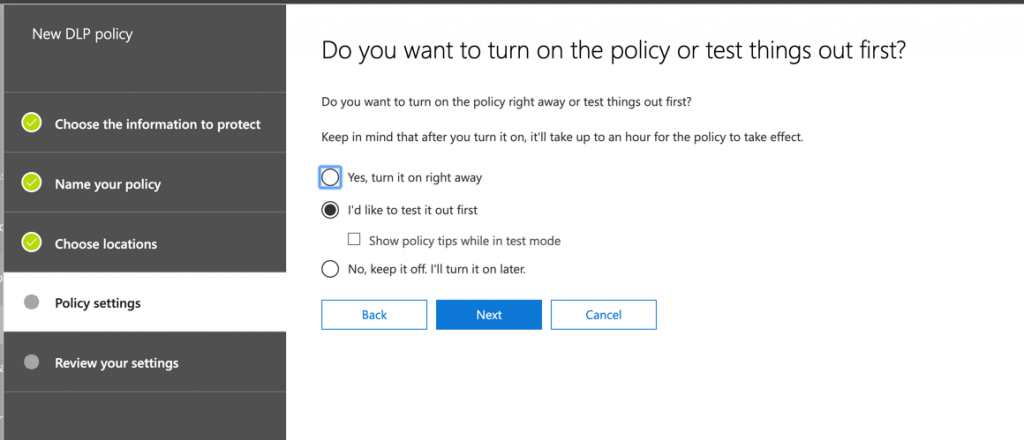
The final step in the wizard is to test the policy or turn it on right away:
Once you have chosen an action you will be presented with a final summary of the DLP rule you just created, and given the chance to confirm and create the rule:
The results of your policy “hits” will be found on the dashboard within the DLP admin center
